meta name="p:domain_verify" content="83432fc69a1d6df071f49df584f9d839 Laurl Designs: owlandthistle
Showing posts with label owlandthistle. Show all posts

Friday, January 16, 2015

Doily chargers or placemats

I am so often asked if my 12 inch doilies would work for a place mat or charger for wedding tables. And they do! Such a pretty, lacy edge around a 10 inch plate. They would be great as a whimsical addition to a Summer party, graduation party, or Mother's day tea!


So, I thought I would set up a simple table settings with new china and my Grandmother's antique china for comparison. All of these pieces are standard size- plates are 10 inches. The silverware is antique, so not the large restaurant size flatware.

Please click HERE to order you gold doilies!

Standard 10 inch plate with a salad plate on top

Standard 10 inch plate on 12 inch doily, such a pretty edge!

Grandmother china on 12 inch doily- place setting with soup bowl


Grandmother's china on 12 inch doily- simple place setting

Saturday, January 25, 2014

Basic Paper Doily Envelope Liner for Wedding Invitations

I have been selling 10 inch square paper doilies in my Etsy shop, Owl and Thistle, for a couple of years, mostly to brides who are DIY-ing the invitations. My current doily style had baskets in the corners. However, I now have a second style of 10 inch square paper doilies! So, I thought I would do a tutorial with that doily style. Here is how-to on making a simple paper doily envelope liner. Please click on the blue words to take you to the items!

The Basic Paper Doily Envelope Liner

Supplies needed-

10 inch doilies
a cutting tool (I used my fave vintage paper cutter purchased from Etsy)
bone folder (for creasing paper)
card board
a type of adhesive (double stick tape, envelope glue)


The bone folder is the small tool on the top. My doilies always include two sheets of the cardboard I have used in this post as protective packaging. So, if you order my doilies, you get the cardboard that you can cut down to the size you need. You could also use a cereal box, but be careful not to transfer the ink to the doily when you are using the bone folder.

{:~:} TIP 
     10 inch doilies can be used for an A7 invitation (5" x 7") or a 6" square invitation. Both sizes follow the same method so for illustrative purposes, I'm only showing the A7 size.

Step 1:
   Cut the cardboard to size for your template. For an A7 envelope, your template should be 5 and 1/4" by 7 and 1/4". For a six inch square, your template should be 6 and 1/4". It us fine if you cut your slightly smaller, just do not go any larger.


Step2:
   Place your doily pretty side down with your template centered on the doily.
{:~:} TIP 
     Look for the embossing to see which is the correct face to place down.
Align your template on the doily to be centered. I like to check the patterns at the corner for alignment reference.
Doily is face down with template aligned.
Step 3:  
 Fold the bottom flap to the center, snugly. Then use your bone folder to press the folded edge down firmly. Your goal is to ensure the crease will stay, but not to tear the delicate doily. I started with the bottom flap to ensure that the envelope will be centered.


Fold in side flaps and firmly press the folded edge with the bone folder.

{:~:} TIP
     You can use the rounded handle end of a dinner knife in lieu of the bone folder.

Step 4:
   Unfold the side flaps and fold to the center, then fold the bottom flap up to meet the side flaps. This ensures that the side you write on is centered and that there is a pretty look on the back side of the envelope.
Fold side flaps to the center.

Add envelope glue to the solid parts on the side flaps of the doily and fold down top.

Fold the bottom back in place, which you can see looks better than the sides on top.
Press and hold the bottom flap until the glue holds.
{:~:} TIP- You can use a weight to hold it down while working on the next one. I like using small bottles of craft paint.

Step 5:
   Fold the top flap down to meet the bottom flap and press with the bone folder. Slide the template out carefully and add your real invitation. You can then either leave the flap unglued or use a dot of your envelope glue to seal the envelope!


{:~:} TIP
   Now that you have a completed envelope, try to slide your invitation inside the envelope and then to slide the envelope into the outer envelope.

Was the envelope too snug or too loose? You can adjust the template for either by trimming or adding tape to each edge to slightly enlarge it.

If you feel the doily is too delicate, you can start with a  10-inch square of velum on the inside of the doily (between the doily and the template) and follow the above steps. Just make sure you stick the velum to the doily in the adhesive step.


Step 7:
   All that is left is adding the name, slipping it into your outer envelope and addressing!


Now that everything works, cut a duplicate templates and invite those bridesmaids over to help fold the rest of those envelopes and start addressing them!

Did you discover a tip you would like to share on this project? Please add it in the comment section!


Monday, October 7, 2013

Halloween treat bags- DIY


I have created new items in my shop to dress up your Halloween treat bags! Halloween orange and black twine, orange and black seam binding, black doilies in two sizes or a kit with a mix. Easy to just add your candy and tissue paper.

Please click on the link to take you to the item!Halloween baker's twine- 240 yard spool black, orange, and white twine
Halloween Divine Twine

6 Halloween treat box- orange and scalloped for candy apples and popcorn balls
Super cute boxes for popcorn balls, bags of caramel corn, popcorn, or thickly layered caramel apples.

Mini Halloween treat bags kit - enough for 12- twine, black doilies, seam binding, bags, and small orange gift tags
Perfect set-up for treat bags, includes, bags, twine, ribbon, doilies and tags all in one kit!


Monday, March 4, 2013

Etsy team: I heart Houndstooth

One of the great things about etsy, beside the ability to run your own online and international business and all that entails, is things like "teams". I am on a few teams, one of the most active is the Alabama Accents. We are currently promoting each other businesses each day.

Today, we are celebrating www.Ihearthoundstooth.etsy.com! Christina creates great personal and home accessories all themed with houndstooth. You can click HERE to find her shop.

 Here are some of her fun item!
Pink Houndstooth Clothespins, Magnets Set, Decorative Push Pins, Classroom Decor
Houndstooth Elephant Vinyl Decal / Car Decal / Computer Decal / Wall Decor
Houndstooth Heart Car Mirror Hanger / Red Glitter Heart
Grey Wreath / Alabama Houndstooth Wreath / Yarn Wreath / Felt Dahlias / Red Black and White
Houndstooth Earrings / Wire Wrapped / Leather Dangle Earrings

Wednesday, January 30, 2013

Great crafting- gold doily pillow box

My weekly great crafting adventure features gift wrapping with some of my Etsy store items.

This great little pillow box is simply decorated with a gold doily. You could easily substitute a silver, white or black doily!

The best part of this design is that it is clean without a bow so it is easy to pack and carry.


Here's what you need:

pillow box
gold doily
glue
scissors

Start with peeling apart the doilies- they always come in sets of 3,4, or 5 sheets per group.

Cut the doily in half. The doily is symmetrical  so you can find the design on the opposite side and aim for it with your scissors.


Fit the doily over the end of the closed box.


Trim around the design to produce smooth edges that look intentional.


Fold the trimmed ends around the box and glue the trimmed ends to the box. Also, glue the edge of the doily to the edge to the box flap.


Finally the finished box, ready to be filled with your pretties!

Ready to pin the instruction? I've made it easy, you the image below to pin for quick reference!


Saturday, January 26, 2013

DIY: Valentine's Doily tags

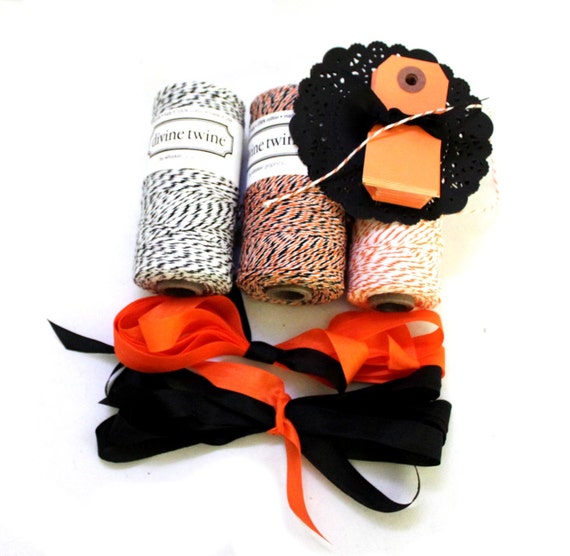
Doily tags are a steady seller in my Etsy store. They work well for gift tags on brown paper packages as well as place cards and wedding decor! They would be so cute as a garland mixed with doilies for a wedding or baby shower! Though I am happy to make them for you, you can make them yourself. Here's how!
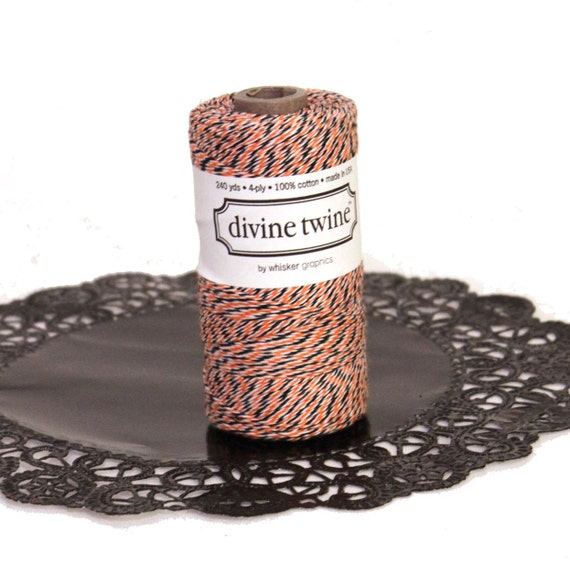
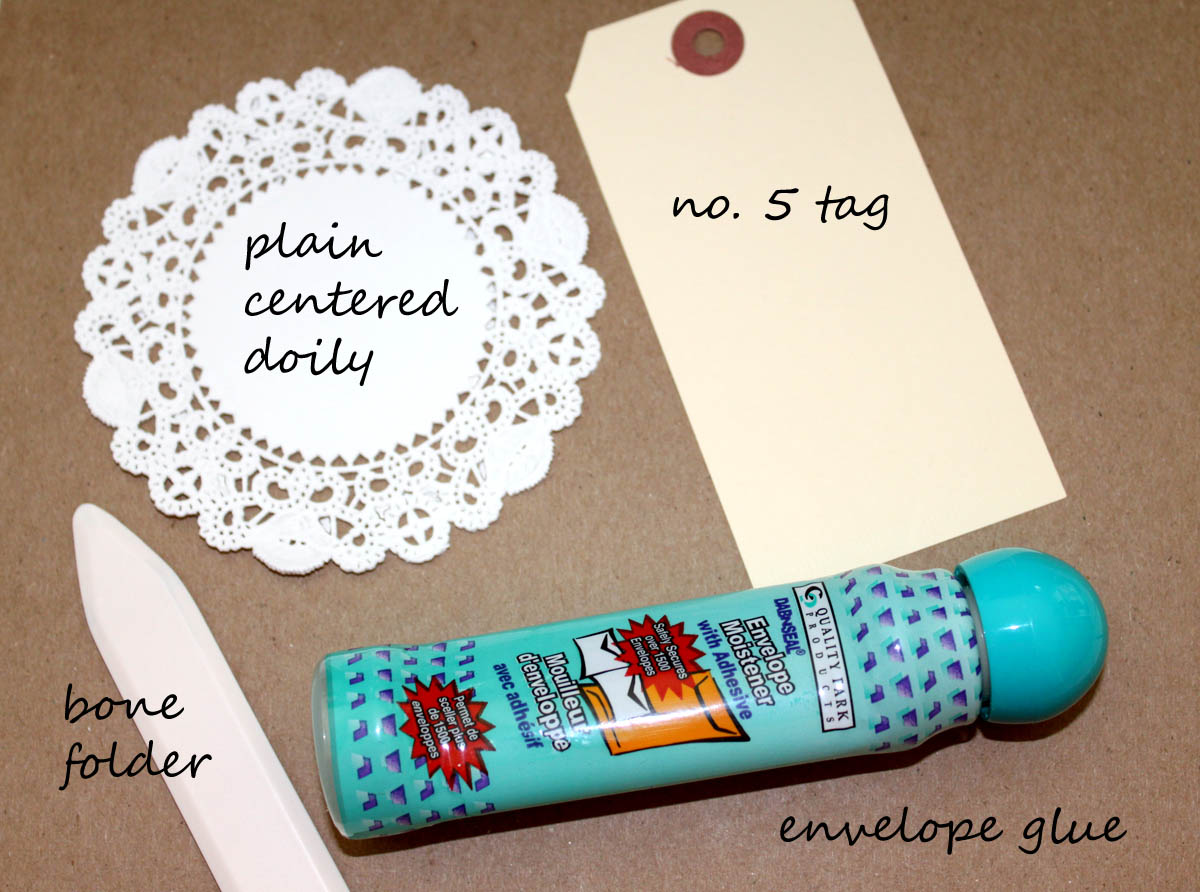


Start with shipping gift tags, English 4 inch doilies, a bone folder, and envelope glue (or your preferred general purpose glue, Elmer's works too. It is just a bit runny). Optional equipment includes very clean slightly stiff paint brush and heavy items like bottles of glue, staplers, steel scissors, pattern weights, etc.


Begin by separating your doilies and removing any "chads" still stuck in the filigree  I like to use the stiff paint brush to remove the chads by pushing the bristles into the shads and brushing them off from the back. Once the doilies are separated, place the doily on the tag as shown below and fold the doily around the tag.


Using your bone folder, press a crease into the doily from the back. Use the flat part of the bone folder, so you will not tear the doily. I have shown my Martha Stewart bone folder, which has a sharp beveled edge. Other bone folders have a smooth bevel, which I prefer. However, this was the one close at hand!


From the back of the tag, you now have fairly solid spots to glue from. Place the sponge tip on the inside of the solid piece of the doily and then press the glued side to the tag. Repeat on the other flap. I like to lay the doily face down on my work table and weight the glued edges until they dry.


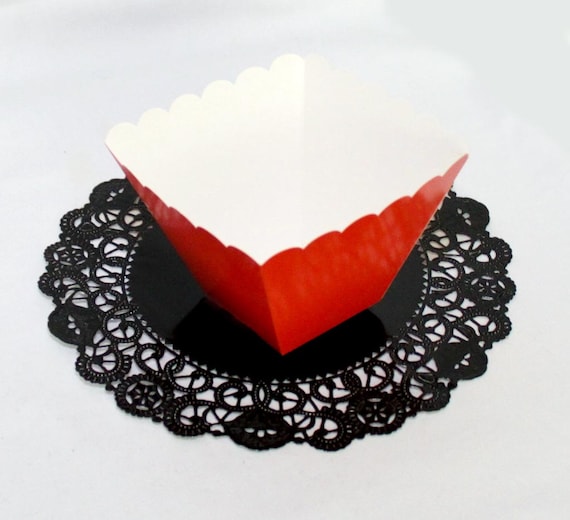
Now you are ready to use your tags for gifts, wedding notes, place cards, table number tags... you name it!


Want to pin these Instructions to Pinterest? Here's a quick step-by-step perfect for pinning!


Friday, December 7, 2012

Holiday gift wrap - The 12 Wraps of Christmas

As my other business is selling gift wrap and crafting supplies on Etsy, I thought I would blur the lines between interior design and craft for the 12 Wraps of Christmas. 12 days, 12 different package ideas in a handy pinterest friendly version!


Gold foil doily pillow box is as ease as peel, cut, form, trim! I used double stick tape to glue the doily in place, however you could use glue stick, hot glue or just a roll of tape!

Tuesday, November 27, 2012

tied-up with string- gift wrapping kits

 I have been working on creating gift wrap kits for my Etsy store OwlandThistle. Twines, seam bindings, puffball twines, doilies are great for tying boxes, pillow boxes and gift bags. Here are my gift wrapping kits currently available!
Check out my paint chip gift tags! Today plain gift tags will be arriving in the shop!
pink peppermint kit - click here


Icicles kit - click here
full kit -click here
 

pint chip tags

Paint chip tags