meta name="p:domain_verify" content="83432fc69a1d6df071f49df584f9d839 Laurl Designs: doily
Showing posts with label doily. Show all posts

Sunday, November 30, 2014

handmade holiday gift wrapping with paper doilies

handmade doily gift bows
I love coming up with new ways to use doilies as gift wrap! Today's project is a silver bow that is "lined" with the doily. The double sided cones  gives the bow extra sparkle and is super easy to make! Here's how.

This project uses kraft paper as a base wrap and two sizes of silver doilies to make the bow. Easy wrapping at it's best!

You will need:
kraft wrapping paper
4 inch silver or gold doilies
5 inch silver or gold doilies
tape and/or hot glue (low temp glue for safety)

Wrap you package in kraft paper and collect four silver 4-inch doilies and  four silver 5-inch doilies.


Fold the doily in half making sure to match the pattern for the neatest look.


Then, make a cone with one side of the folded doily and tape it place (tape the folded edge from the inside of the cone).

Next, make a cone with the other half of the folded doily by folding it in the opposite direction and taping. Continue making the cones with the rest of the doilies.
Place the four largest cone pairs in a cross on your package (you can tape or hot glue these in place).


silver doily gift wrap
Then place the four smaller ones together, again tape or hot glue, and add them to the center of the cross.

Silver doily gift bows
Pretty and pretty easy! This project also works great with 5 and 6 inch doilies or, for really big packages, 6 and 8 inch doilies!

Monday, October 7, 2013

Halloween treat bags- DIY


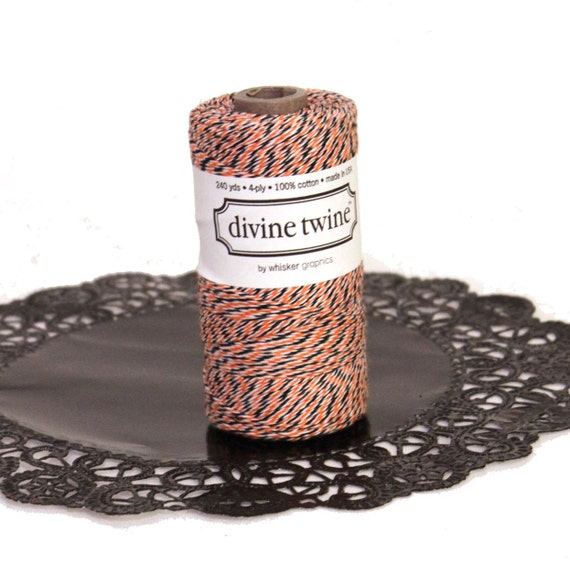
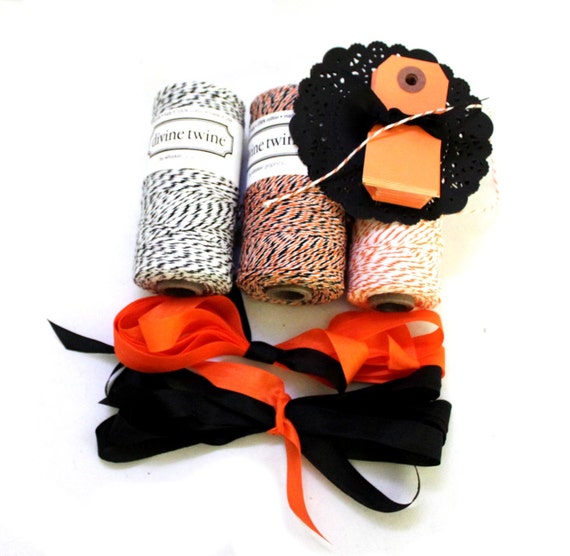
I have created new items in my shop to dress up your Halloween treat bags! Halloween orange and black twine, orange and black seam binding, black doilies in two sizes or a kit with a mix. Easy to just add your candy and tissue paper.

Please click on the link to take you to the item!Halloween baker's twine- 240 yard spool black, orange, and white twine
Halloween Divine Twine

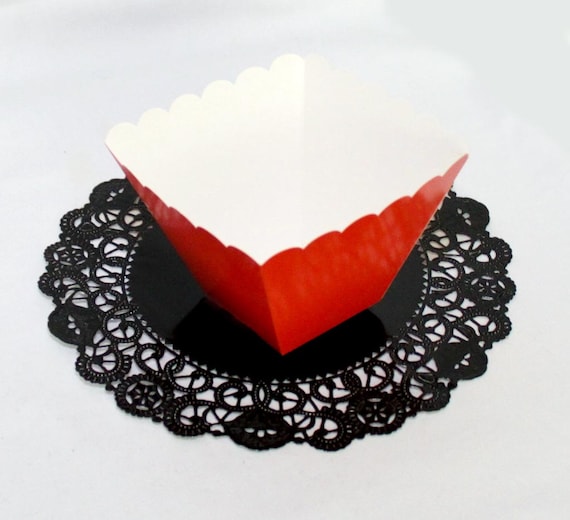
6 Halloween treat box- orange and scalloped for candy apples and popcorn balls
Super cute boxes for popcorn balls, bags of caramel corn, popcorn, or thickly layered caramel apples.

Mini Halloween treat bags kit - enough for 12- twine, black doilies, seam binding, bags, and small orange gift tags
Perfect set-up for treat bags, includes, bags, twine, ribbon, doilies and tags all in one kit!


Sunday, August 11, 2013

DYI Doily Wedding Envelopes and Liners- the how-to

I have been selling 10 inch square paper doilies in my Etsy shop, Owl and Thistle, for a couple of years, mostly to brides who are DIY-ing the invitations. I made the assumption that there was great instructions on the web to make them. So, when a customer asked for the instruction, I went to the web to find a blog to give her the link... and I could not find one that used the 10 inch doilies and made a simple envelope. So, here is how to make a simple paper doily envelope liner!

The Basic Paper Doily Envelope Liner

Supplies needed-

10 inch doilies
a cutting tool (I used my fave vintage paper cutter purchased from Etsy)
a bone folder (for creasing paper)
card board
a type of adhesive (double stick tape, envelope glue)


The bone folder is the small tool on the top. My doilies always include two sheets of the cardboard I have used in this post as protective packaging. So, if you order my doilies, you get the cardboard that you can cut down to the size you need. You could also use a cereal box, but be careful not to transfer the ink to the doily when you are using the bone folder.

{:~:} TIP 
     10 inch doilies can be used for an A7 invitation (5" x 7") or a 6" square invitation. Both sizes follow the same method so for illustrative purposes, I'm only showing the A7 size.

Step 1:
   Cut the cardboard to size for your template. For an A7 envelope, your template should be 5 and 1/4" by 7 and 1/4". For a six inch square, your template should be 6 and 1/4". It us fine if you cut your slightly smaller, just do not go any larger.


Step2:
   Place your doily pretty side down with your template centered on the doily.
{:~:} TIP 
     Look for the embossing to see which is the correct face to place down.

Face down with template


Note that the space for "a" and the space for "b" are equal. 


Step 3:
   Fold the side flaps to the center, snugly. Then use your bone folder to press the folded edge down firmly. Your goal is to ensure the crease will stay, but not to tear the delicate doily.

It does not matter which side you fold from first.

Firming press the folded edge with the bone folder.


{:~:} TIP
     You can use the rounded handle end of a dinner knife in lieu of the bone folder.

Step 4:
   Fold the bottom flap up to meet the side flaps and, again, use the bone folder to press the folded edge down firmly.


Step 5:
   Fold the top flap down to meet the bottom flap and press with the bone folder.


Step 6:
   Open the top flap back and bottom flaps back to add the double stick tape, or the envelope adhesive to the points of the side flaps. Add the adhesive to a location where the most solid pieces meet. Arrows are for suggested adhesive placement.


{:~:} TIP
     If you are using envelope adhesive or Elmer's glue, add a hair dryer to your tools. The glue takes about a minute to dry and the dryer will speed that time up.

Step 7:
   Slide the template carefully out of the envelope and close the top flap! You have completed one envelope.


Step 8:
   Now that you have an envelope, it is time for a dry run. Try to slide your invitation inside the envelope and then to slide the envelope into the outer envelope.

Was the envelope too snug or too loose? You can adjust the template for either by trimming or adding tape to each edge to slightly enlarge it.

If you feel the doily is too delicate, you can start with a  10-inch square of velum on the inside of the doily (between the doily and the template) and follow the above steps. Just make sure you stick the velum to the doily in the adhesive step.

Now that everything works, cut a duplicate templates and invite those bridesmaids over to help fold the rest of those envelopes.


Did you discover a tip you would like to share on this project? Please add it in the comment section!


Saturday, January 26, 2013

DIY: Valentine's Doily tags

Doily tags are a steady seller in my Etsy store. They work well for gift tags on brown paper packages as well as place cards and wedding decor! They would be so cute as a garland mixed with doilies for a wedding or baby shower! Though I am happy to make them for you, you can make them yourself. Here's how!


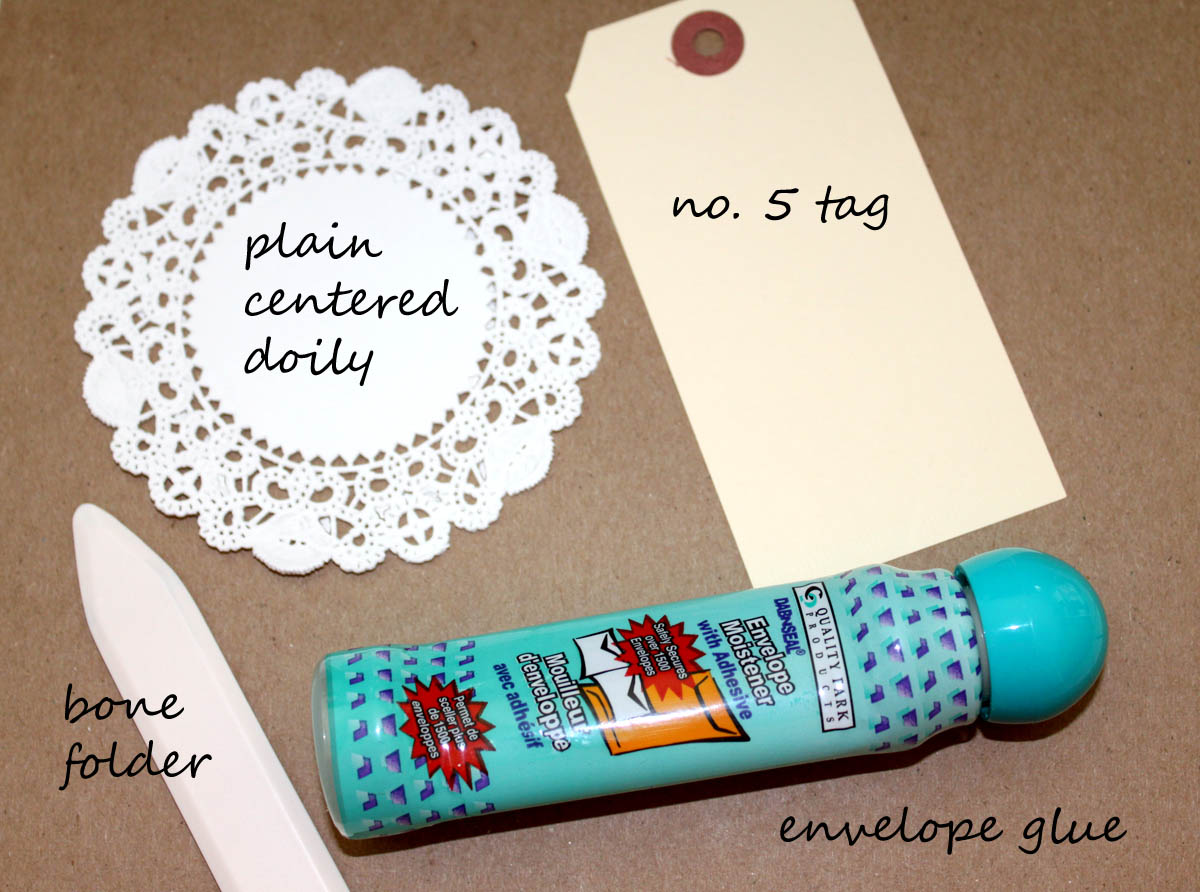
Start with shipping gift tags, English 4 inch doilies, a bone folder, and envelope glue (or your preferred general purpose glue, Elmer's works too. It is just a bit runny). Optional equipment includes very clean slightly stiff paint brush and heavy items like bottles of glue, staplers, steel scissors, pattern weights, etc.


Begin by separating your doilies and removing any "chads" still stuck in the filigree  I like to use the stiff paint brush to remove the chads by pushing the bristles into the shads and brushing them off from the back. Once the doilies are separated, place the doily on the tag as shown below and fold the doily around the tag.


Using your bone folder, press a crease into the doily from the back. Use the flat part of the bone folder, so you will not tear the doily. I have shown my Martha Stewart bone folder, which has a sharp beveled edge. Other bone folders have a smooth bevel, which I prefer. However, this was the one close at hand!


From the back of the tag, you now have fairly solid spots to glue from. Place the sponge tip on the inside of the solid piece of the doily and then press the glued side to the tag. Repeat on the other flap. I like to lay the doily face down on my work table and weight the glued edges until they dry.


Now you are ready to use your tags for gifts, wedding notes, place cards, table number tags... you name it!


Want to pin these Instructions to Pinterest? Here's a quick step-by-step perfect for pinning!


Thursday, January 26, 2012

No more boring bathmats

Bathmats, function, fluffy and not normally super fun... until now!
I am obsessed with these GIANT doily bathmats I found on etsy. They are pretty, and funny, and granny chic as well as contempory- all at the same time. I want to carve my own giant needles to make these, but buying might be the more practical option.
What makes these rugs so perfect is the scale. Anyone can crochet a big doily with normal needles and yarn, but it would look like a table cloth on the floor. The folks a Squirrelicious understand scale! Please click on the grey words and check this shop out!


doily bath rug black, Reserved for store, Dubai

big doily rug beige round mat