meta name="p:domain_verify" content="83432fc69a1d6df071f49df584f9d839 Laurl Designs: easy gift wrap
Showing posts with label easy gift wrap. Show all posts

Tuesday, December 3, 2013

Brown paper packages tied up with string...


These are a few of my favorite gift wrapping things! And, I happen to sell them in my Etsy store (www.owlandthistle.etsy.com).


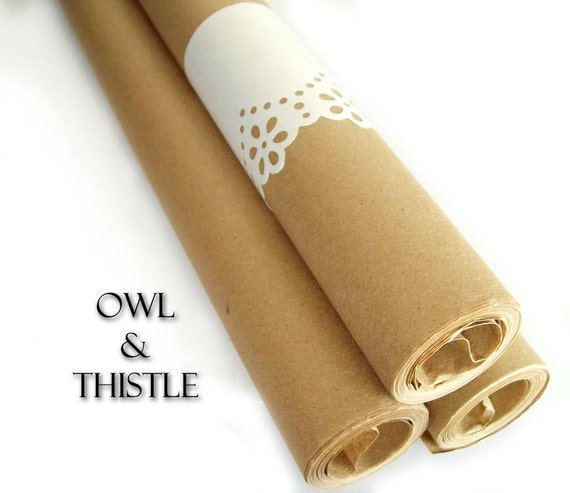
The brown paper is flying out of the store!Kraft wrapping paper- 30 foot roll - great for wrapping gifts - 24 inches by 30 feet


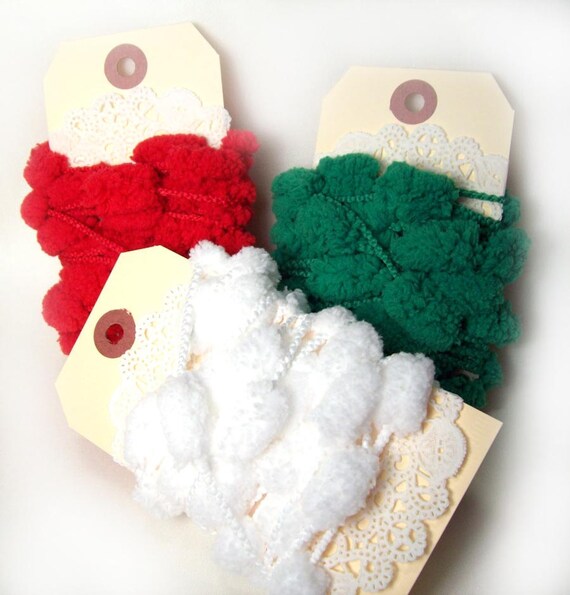
The string comes in a variety of options!

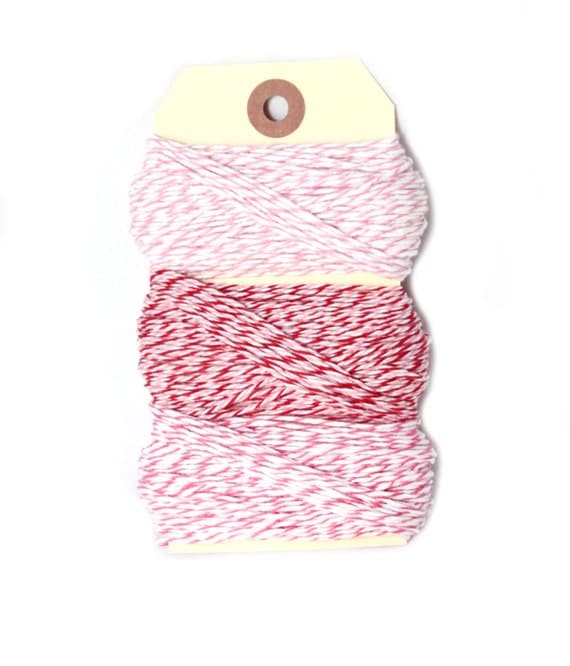
Pink Bakers Twine - 25 yards of each color - 75 total
Baker's twine in shades of pink.

Wednesday, January 30, 2013

Great crafting- gold doily pillow box

My weekly great crafting adventure features gift wrapping with some of my Etsy store items.

This great little pillow box is simply decorated with a gold doily. You could easily substitute a silver, white or black doily!

The best part of this design is that it is clean without a bow so it is easy to pack and carry.


Here's what you need:

pillow box
gold doily
glue
scissors

Start with peeling apart the doilies- they always come in sets of 3,4, or 5 sheets per group.

Cut the doily in half. The doily is symmetrical  so you can find the design on the opposite side and aim for it with your scissors.


Fit the doily over the end of the closed box.


Trim around the design to produce smooth edges that look intentional.


Fold the trimmed ends around the box and glue the trimmed ends to the box. Also, glue the edge of the doily to the edge to the box flap.


Finally the finished box, ready to be filled with your pretties!

Ready to pin the instruction? I've made it easy, you the image below to pin for quick reference!


Saturday, January 26, 2013

DIY: Valentine's Doily tags

Doily tags are a steady seller in my Etsy store. They work well for gift tags on brown paper packages as well as place cards and wedding decor! They would be so cute as a garland mixed with doilies for a wedding or baby shower! Though I am happy to make them for you, you can make them yourself. Here's how!


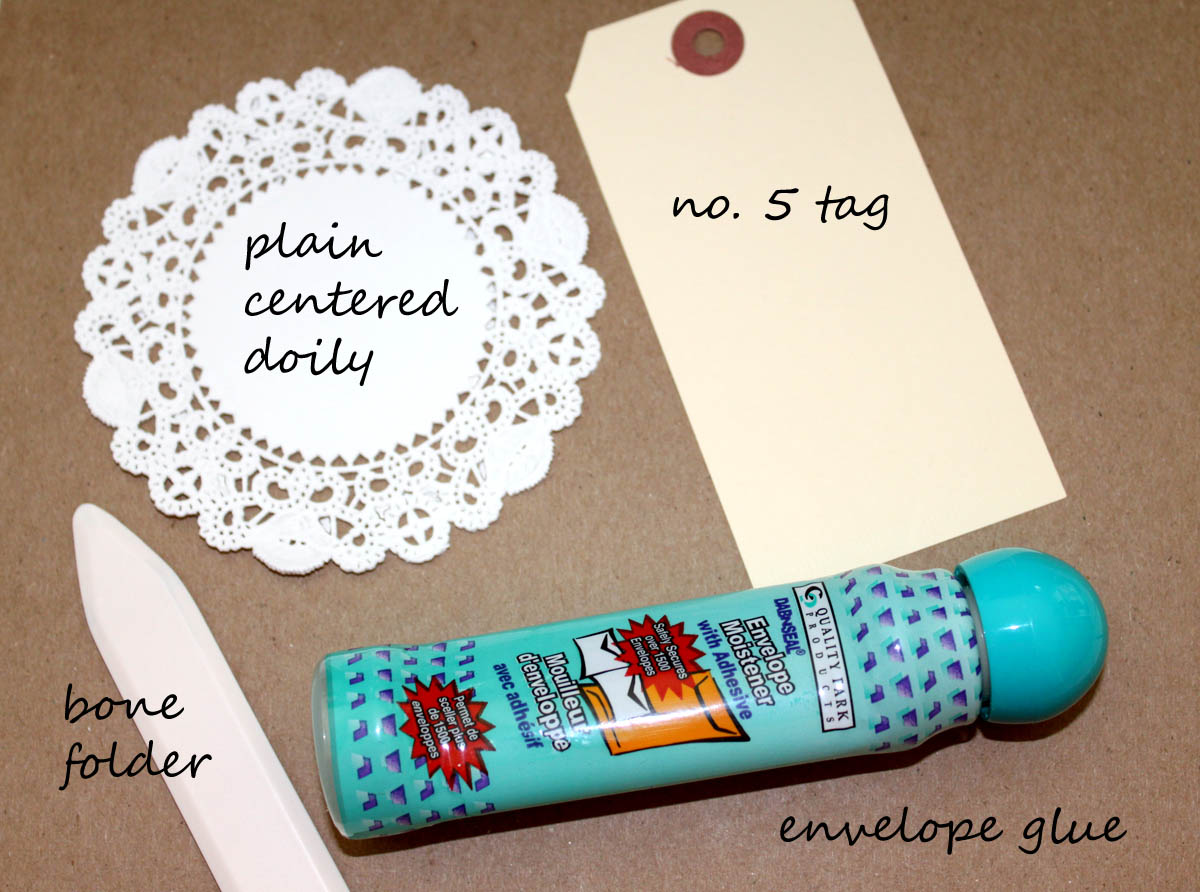
Start with shipping gift tags, English 4 inch doilies, a bone folder, and envelope glue (or your preferred general purpose glue, Elmer's works too. It is just a bit runny). Optional equipment includes very clean slightly stiff paint brush and heavy items like bottles of glue, staplers, steel scissors, pattern weights, etc.


Begin by separating your doilies and removing any "chads" still stuck in the filigree  I like to use the stiff paint brush to remove the chads by pushing the bristles into the shads and brushing them off from the back. Once the doilies are separated, place the doily on the tag as shown below and fold the doily around the tag.


Using your bone folder, press a crease into the doily from the back. Use the flat part of the bone folder, so you will not tear the doily. I have shown my Martha Stewart bone folder, which has a sharp beveled edge. Other bone folders have a smooth bevel, which I prefer. However, this was the one close at hand!


From the back of the tag, you now have fairly solid spots to glue from. Place the sponge tip on the inside of the solid piece of the doily and then press the glued side to the tag. Repeat on the other flap. I like to lay the doily face down on my work table and weight the glued edges until they dry.


Now you are ready to use your tags for gifts, wedding notes, place cards, table number tags... you name it!


Want to pin these Instructions to Pinterest? Here's a quick step-by-step perfect for pinning!