Doily tags are a steady seller in my
Etsy store. They work well for gift tags on brown paper packages as well as place cards and wedding decor! They would be so cute as a garland mixed with doilies for a wedding or baby shower! Though I am happy to make them for you, you can make them yourself. Here's how!
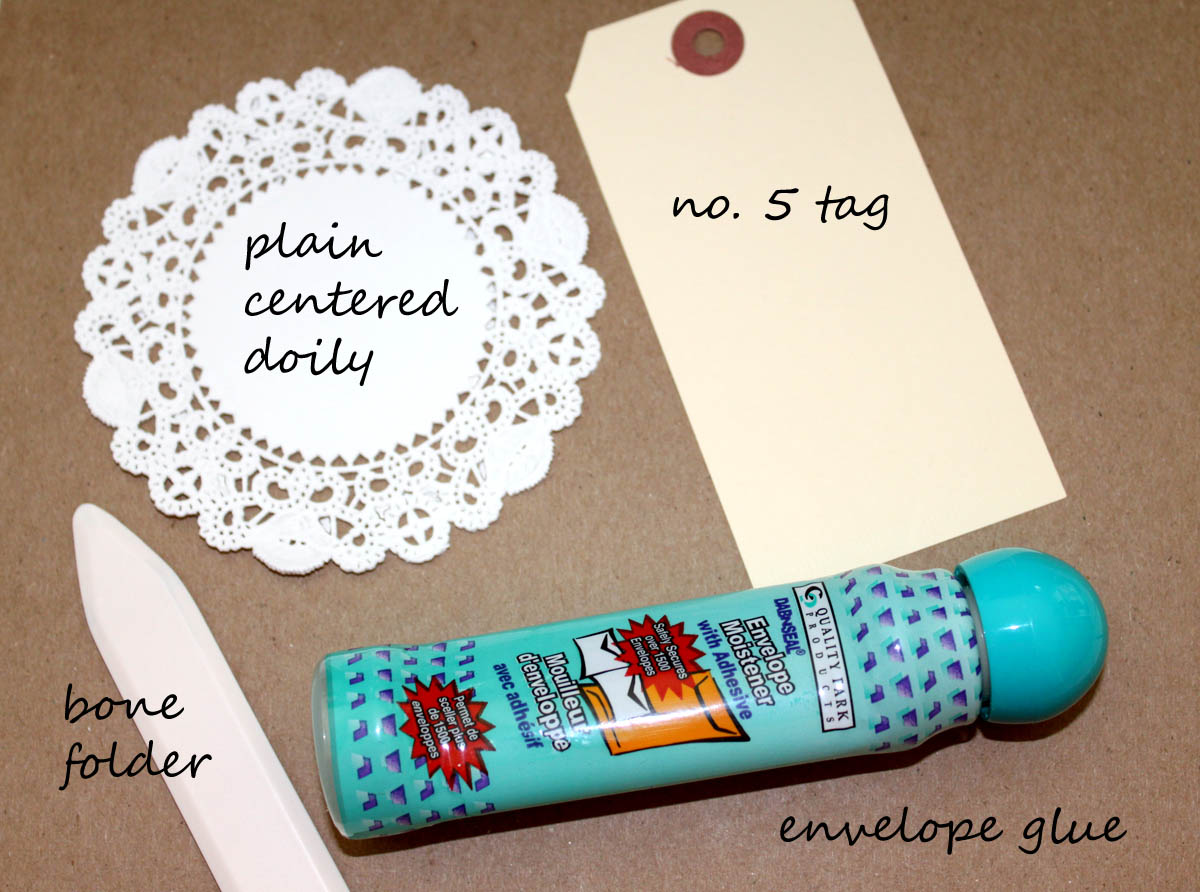
Start with
shipping gift tags, English 4 inch
doilies, a bone folder, and envelope glue (or your preferred general purpose glue, Elmer's works too. It is just a bit runny). Optional equipment includes very clean slightly stiff paint brush and heavy items like bottles of glue, staplers, steel scissors, pattern weights, etc.
Begin by separating your doilies and removing any "chads" still stuck in the filigree I like to use the stiff paint brush to remove the chads by pushing the bristles into the shads and brushing them off from the back. Once the doilies are separated, place the doily on the tag as shown below and fold the doily around the tag.
Using your bone folder, press a crease into the doily from the back. Use the flat part of the bone folder, so you will not tear the doily. I have shown my Martha Stewart bone folder, which has a sharp beveled edge. Other bone folders have a smooth bevel, which I prefer. However, this was the one close at hand!
From the back of the tag, you now have fairly solid spots to glue from. Place the sponge tip on the inside of the solid piece of the doily and then press the glued side to the tag. Repeat on the other flap. I like to lay the doily face down on my work table and weight the glued edges until they dry.
Now you are ready to use your tags for gifts, wedding notes, place cards, table number tags... you name it!
Want to pin these Instructions to Pinterest? Here's a quick step-by-step perfect for pinning!