meta name="p:domain_verify" content="83432fc69a1d6df071f49df584f9d839 Laurl Designs: January 2014

Friday, January 31, 2014

Cabin Fever crafting- snow dyeing fabrics

Heat Miser and Freeze Miser battled it out in Southtown this week giving Birmingham and much of the South a snow and ice event. The Boys, as Mother Nature calls them, forgot to inform those in charge of the weather forecasting in the Birmingham area. Those boys always did have a tendency to pull pranks. (Image on the left is the snow just getting started)

So, with two to three inches of snow blanketing the area, and being very, very fortunate not to have spent the night in the car in sub-freezing temps as so many did in Birmingham, I decided this was my rare chance to snow dye fabrics, instead of my usual ice dyeing- with ice from the freezer.


The day started out with an understanding of a dusting in central Alabama, so we all proceeded to work and school as usual. And when the snow started, it was pretty and the assumed dusting was underway. Then we were a city of hills disabled by tiny snow pellets that regular tires cannot grip. I just made it into the melee before the majority of the battlers got in the fight to get home- or to get to children. Two miles and an hour and a half was getting of light.

Image on the right was taken from my car after sitting in "traffic", which really means cars on a major interstate going 1-2 mph for about an hour. Note that I had three bars of gas and three bars of energy in the batteries, I drive a prius. That school bus had been blocking the lanes and attempting to get up the hill for 20-30 minutes. I didn't know at the time that there was school kids on it headed home from a field trip until I posted the pic on facebook and a mom of one of the kids on board commented. However, my 3-4 miles in just over an hour was fast compared to most people.

Once I got home and calmed down from a most harrowing experience, I looked at all the snow and the art show looming in two weeks. Then, I got to work! Soaking the silk and rayon in the soda ash liquid arranging it into the dye boxes and heading out to the back yard with a big spoon to scoop up snow.
box of fabric covered in snow                                  sprinkling the dye                              boxes read for time to do its work.
first image shows too much white fabric, at least for me. So, image two, I added tiny ice cubes to add more water and draw more dye into the fabric. Third image shows the completed dye process with no white fabric.
Snow + fiber reactive dyes + plant based fibers = love color!
I did four boxes of scarves for my art show next weekend, above are some of the silk scarves.
Now off to finish my knitting, I need to make a "zombie apocalypse" kit, as my friend calls it,  in preparation for the next weather event and in case I have to walk miles to get home, as so many has to this weekend. New water repellent cowl and mittens to cover my gloves. Hopefully, I will never need them.


Saturday, January 25, 2014

Basic Paper Doily Envelope Liner for Wedding Invitations

I have been selling 10 inch square paper doilies in my Etsy shop, Owl and Thistle, for a couple of years, mostly to brides who are DIY-ing the invitations. My current doily style had baskets in the corners. However, I now have a second style of 10 inch square paper doilies! So, I thought I would do a tutorial with that doily style. Here is how-to on making a simple paper doily envelope liner. Please click on the blue words to take you to the items!

The Basic Paper Doily Envelope Liner

Supplies needed-

10 inch doilies
a cutting tool (I used my fave vintage paper cutter purchased from Etsy)
bone folder (for creasing paper)
card board
a type of adhesive (double stick tape, envelope glue)


The bone folder is the small tool on the top. My doilies always include two sheets of the cardboard I have used in this post as protective packaging. So, if you order my doilies, you get the cardboard that you can cut down to the size you need. You could also use a cereal box, but be careful not to transfer the ink to the doily when you are using the bone folder.

{:~:} TIP 
     10 inch doilies can be used for an A7 invitation (5" x 7") or a 6" square invitation. Both sizes follow the same method so for illustrative purposes, I'm only showing the A7 size.

Step 1:
   Cut the cardboard to size for your template. For an A7 envelope, your template should be 5 and 1/4" by 7 and 1/4". For a six inch square, your template should be 6 and 1/4". It us fine if you cut your slightly smaller, just do not go any larger.


Step2:
   Place your doily pretty side down with your template centered on the doily.
{:~:} TIP 
     Look for the embossing to see which is the correct face to place down.
Align your template on the doily to be centered. I like to check the patterns at the corner for alignment reference.
Doily is face down with template aligned.
Step 3:  
 Fold the bottom flap to the center, snugly. Then use your bone folder to press the folded edge down firmly. Your goal is to ensure the crease will stay, but not to tear the delicate doily. I started with the bottom flap to ensure that the envelope will be centered.


Fold in side flaps and firmly press the folded edge with the bone folder.

{:~:} TIP
     You can use the rounded handle end of a dinner knife in lieu of the bone folder.

Step 4:
   Unfold the side flaps and fold to the center, then fold the bottom flap up to meet the side flaps. This ensures that the side you write on is centered and that there is a pretty look on the back side of the envelope.
Fold side flaps to the center.

Add envelope glue to the solid parts on the side flaps of the doily and fold down top.

Fold the bottom back in place, which you can see looks better than the sides on top.
Press and hold the bottom flap until the glue holds.
{:~:} TIP- You can use a weight to hold it down while working on the next one. I like using small bottles of craft paint.

Step 5:
   Fold the top flap down to meet the bottom flap and press with the bone folder. Slide the template out carefully and add your real invitation. You can then either leave the flap unglued or use a dot of your envelope glue to seal the envelope!


{:~:} TIP
   Now that you have a completed envelope, try to slide your invitation inside the envelope and then to slide the envelope into the outer envelope.

Was the envelope too snug or too loose? You can adjust the template for either by trimming or adding tape to each edge to slightly enlarge it.

If you feel the doily is too delicate, you can start with a  10-inch square of velum on the inside of the doily (between the doily and the template) and follow the above steps. Just make sure you stick the velum to the doily in the adhesive step.


Step 7:
   All that is left is adding the name, slipping it into your outer envelope and addressing!


Now that everything works, cut a duplicate templates and invite those bridesmaids over to help fold the rest of those envelopes and start addressing them!

Did you discover a tip you would like to share on this project? Please add it in the comment section!


Thursday, January 23, 2014

Press clippings- I'm a Cosmo girl!

Just got confirmation that one of my vintage picks was featured in Cosmopolitan, German edition, for February 2014!

I love everything on this page! And, I am so excited to be chosen for the issue!

Tuesday, January 21, 2014

High, middle, and low great desks- modern edition

I love finding great furniture in every price range. It seems that if you need it fast, you will pay a bit more, but if you can wait, you will be rewarded with a deal! Here are some great modern desks in high, middle and low price ranges- and all you can get now!
14b647ee1bcbfc7a8eb9db0b0541037efa34b5db_medium
Danish Modern flat top pedestal design for $2400 from Hunter's Alley
Eames Desk for $1400 from Design Within Reach
Danish modern desk for $425 from Etsy

B634a63177c94dab7307780913574bc77a0ff8d2_medium
Industrial Design for $299 from Hunter's Alley
Where else can you find the deals?  Keep you mind open and scour the Craig's list for your area as well as tag sales and good thrift stores! If you've got time, then you can find the deals!


Monday, January 20, 2014

Murano glass- a primer

I recently purchased a piece of Murano glass, solely on it's beauty... and to sell. Once I got to the listing stage, I realized how little I knew about it. For example, I spelled it the way I pronounce it: Ma- RON-o. So, here is a visual primer to prevent you from being a Moron-o about Murano!


Friday, January 17, 2014

You've come a long way baby- I finally feel full

I have worked on the transition from one antique store to another on the other side of town for the last two weeks and I finally feel "full" in the new space and the old is closed. I have taken pictures each day I go in to see the progress and to feel that there has been progress.

From day one to yesterday, here's how far I've come along in the space.

A few items, a little on the walls, and an open box started the first day.

Second visit brought lots of chairs, new clear shelves for my cameras and some more suitcases. And reminders from the staff at Hanna's that I "still have some space".
Phase three- I'm moved out on one space and can pick and choose my favorite items for the space... which means the house looks like an antique store... and not in a good way.

Phase three brought more tables and some styling opportunities to the space.
Yes, that 20% off is still available through the end of the month

In phase three, I created an "office space" on one end of the booth with my desk and awesome chairs serving as "guest chairs- perhaps I am missing Corporate America a little. However, this also brought the barrister bookcase for display for my bookend collection and a space for a fantastic hand cut lead crystal lamp.

Wednesday, January 15, 2014

Colorful condo- in print

I was so excited to be asked to have my colorful condo project published, then the photo shoot day came and they were shooting for "cover tries"... which means she was considering it for the cover. I told myself that everyone has cover try photos taken. Then publishing day came and the email with "Hey Cover Girl" as the subject. I was overwhelmed and honored and stunned... and want to simultaneously buy every copy to share with friends and buy no copies so that everyone can see it! Then to be list with the tag, "Ones to Watch"... what can I say.

So, my Well-made Wednesday this week, is the condo story. Seems a bit big-for-my-britches to call my work "well made", but it is carefully and thoughtfully designed space, which is what being well made is about.

Enjoy the space.

The over all of the space, which required as much seating as possible for a space that is quite small. We have seating for eight for this space designed to entertain.


The chalkboard wall is one of my favorite details. The stenciled  Moroccan lace pattern in orange over the hot pink is perfect for this lively place, layering bohemian pattern in contemporary a palette and ticking the boxes for three great design trends- chalkboards, Moroccan, and pink and orange. It is perfect for everything from menus to homemade Pictionary and provides a peek-a-boo view of the large painting in the bedroom.

All photos courtesy of Birmingham Home and Garden Magazine. Photo credit for all photos: Jean Allsopp

 I am still amazed and I cannot wait for the Industrial Bohemian Romantic bedroom in the space to be completed- moody metals, giant flowers, rumpled bedding, etc.

If you would like to chat about any of the items in the images, or would like me to work on a project with you, please contact me! Use the "let's get social" buttons at the top of the page. I look forward to making your space the best possible you!

Tuesday, January 14, 2014

Mid Century Madness! Fine furniture galore

This weekend I could not stop running into fantastic Mid Century furniture. Some of it, I am now the proud owner of... until it hits my stores. Then, it can be yours. Of course you can always contact me to for purchase info.

Here's the roundup of awesomeness!

What a fantastic coffee table! Black metal bars pass through the stone and support the glass top. I didn't buy it, but I'd love to own it.
This guy is going to be hard to part with!
I would love to see it with some great intense pastel stripe- lime, orchid, turquoise, orange, etc
Gorgeous Barovier and Toso (unmarked) glass and marble lamp. Once you get past the fact that with this shade it is about 42 inches tall. You see the lovely details.
 
Beautiful blown glass body with the clear bubbles that spiral across the reverse teardrop shade, topped with a hand carved white marble.
The lamp terminates in a white marble base with a carved reverse flower.

I did a lot more shopping this weekend, but these were the must shares. What great did you find this weekend?


Monday, January 13, 2014

When laws and design combine- finding warm indoor lighting in 2014


Warm light will be a bit more of a challenge for the home in 2014. The move toward CFL- compact fluorescent light- bulbs and the new ban on traditional incandescent bulbs, heralds the time for a little lighting education.

Incandescent bulbs are not as energy efficient as a CFL, which is good for your budget in the long term. However, the light they produce looks different and they will make the colors in your home look different. And by different, I mean that the colors will not only skew, but possible will completely change the levels of color in your color palette. So that, the palette you created so carefully, could no longer match. This can be helped with a little knowledge of the science of light.

Light is actually a physical manifestation of heat, if you will. So the color of light, and it does come in colors, can be expressed in a measurement of temperature. Color temperature refers to the color of the light and is represented in Kelvin degrees.

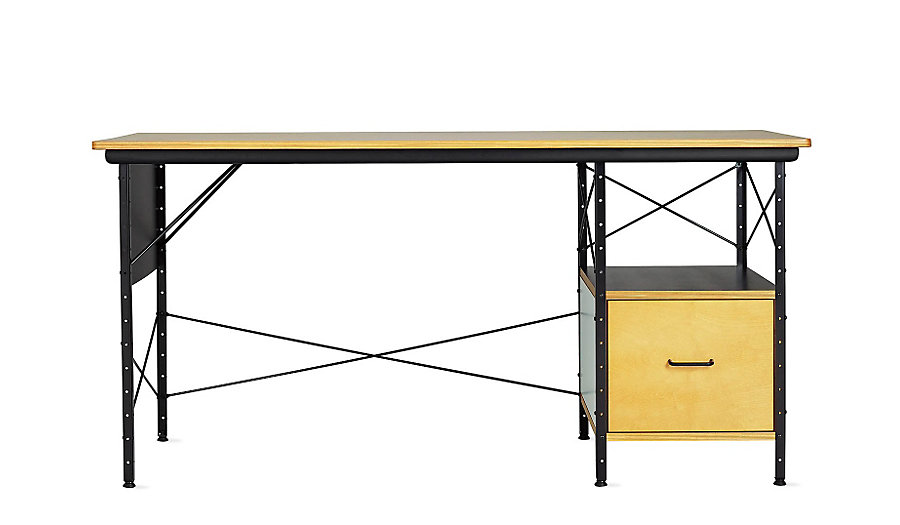
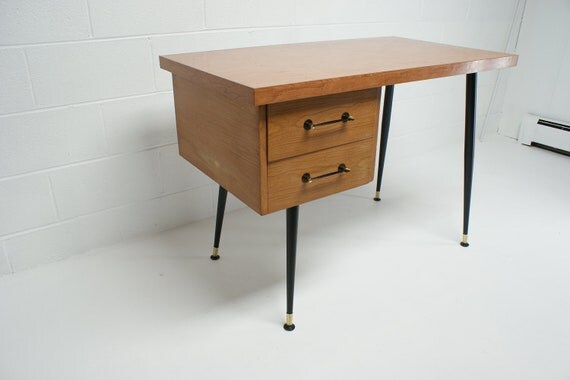
Your light bulbs typically refer to cool or warm light, which in itself is a temp. reference. We are used to incandescent bulbs, which are warm by nature and in the range of 2700 degrees to 3300 degrees Kelvin. Warm CFL's also fall into this range, but on the high end. The higher the number the cooler, or more blue the light. Note the differences in the office spaces below and imagine what that will do to your carefully selected warm grey living room!
Chart from Control-led.com
.
Cool florescence bulbs are 5000 degrees Kelvin (represented as 5000K, typically). Bulbs known as "full spectrum" like the brand OTT light, offers light that is 5500-5900K. These bulbs are used for task lighting for artists, especially quilters where color is critical, and for people with Seasonal Affective Disorder, which is a type of depression that responds to light therapy and often occurs in the winter months.


Daylight is 15,000 degrees Kelvin and is very blue. Sound strange since the sun is considered orange? Try taking a photo on a sunny day and look at the shadow. Blue.

blue shadows on snow
Image found on Pinterest by Elizabeth  Bunsen


Home Depot's Eco-Smart soft white bulbs
Now, how does this relate to home lighting? As most people associate home with incandescent light color and they are being discontinued, homeowners need to learn to read color temps on their light bulbs to get the warmest- lowest temperature- CFL bulb in order to have the light they perceive as correct and for the colors in their home to still go together. I have been using the brand Eco-Smart from Home Depot and I like them very much. The light is consistence, the bulbs are long lasting, and they are inexpensive.


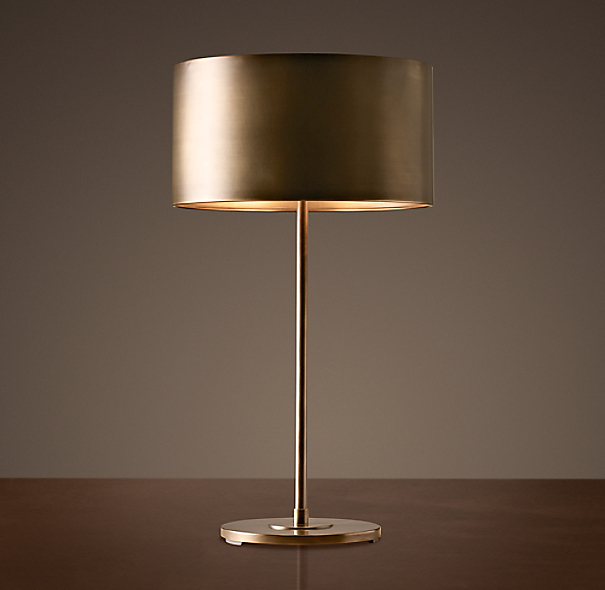
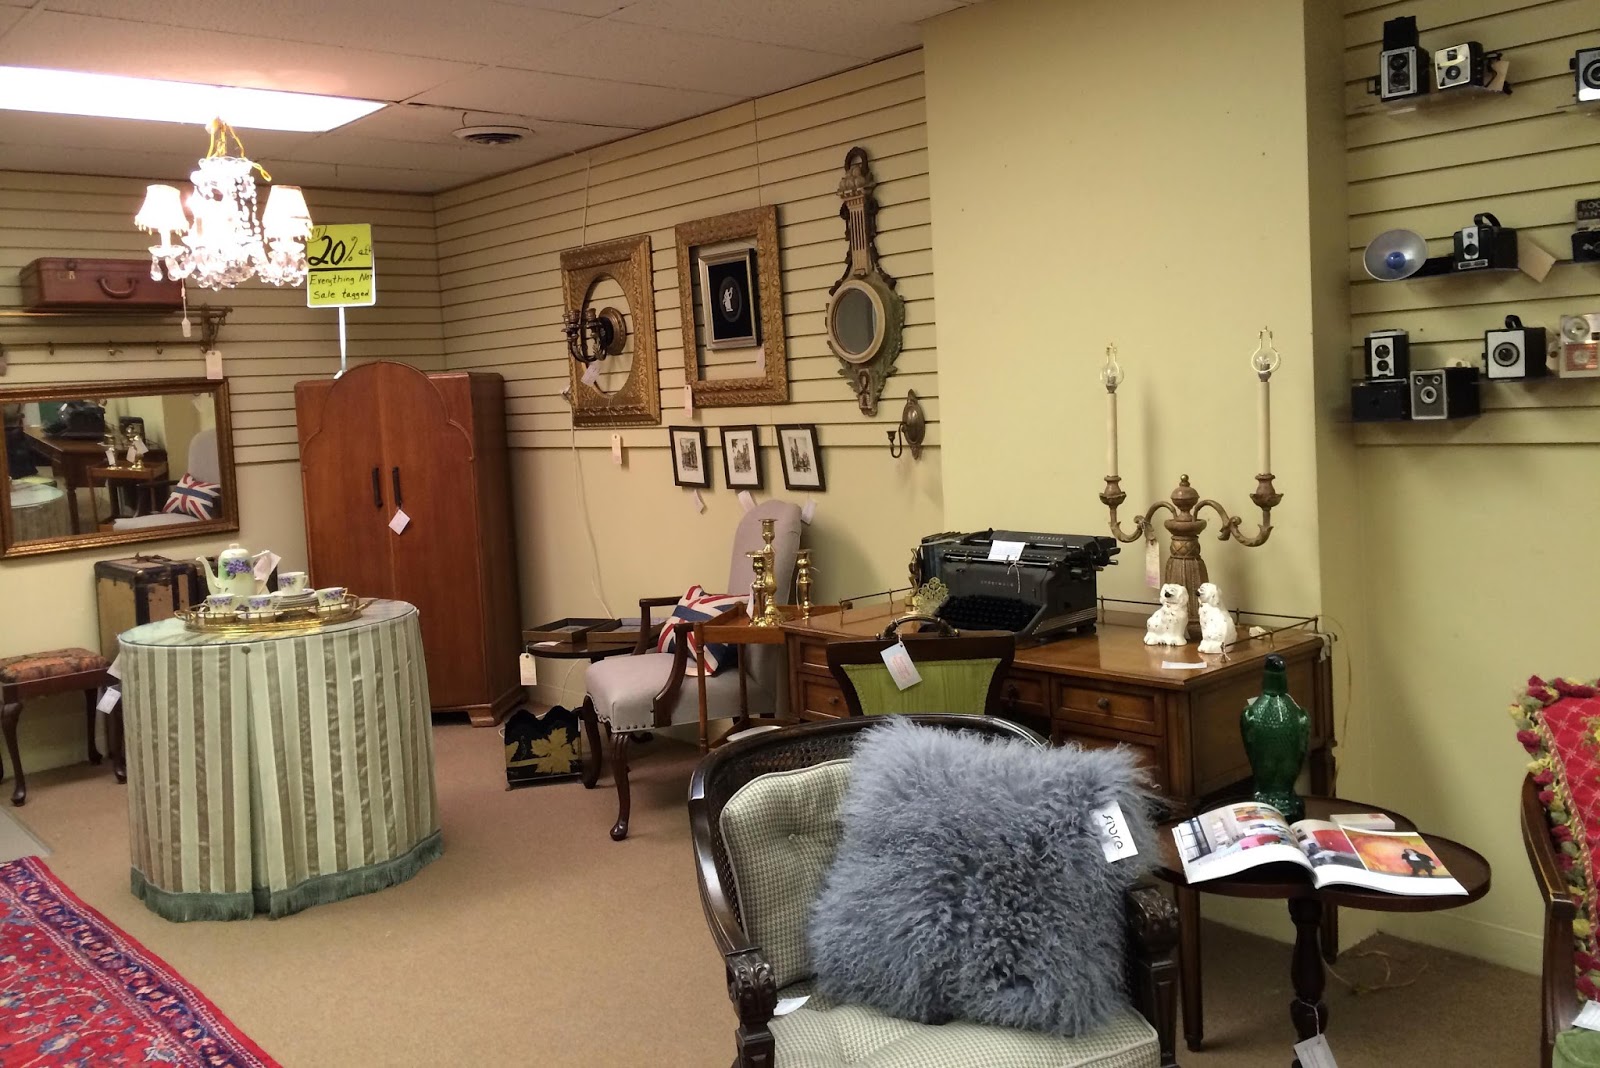
Another way to do this is to use lighting fixtures with yellow glass shades or lamp shades lined in gold or made from fabric on the yellow side.

Antiqued Metal Drum Table Lamp Vintage Brass
Antiqued Metal Drum Table lamp from Restoration Hardware
peacock&gold12
Gold lined lampshade in Peacock from Love Frankie

 Dimple Glass Pendant Light
Dimple glass pendant in Champagne


 Amber Craft Show Glass Pendant
Amber Craft Show Glass Pendant
Panorama Chandelier
West Elm's Panorama Chandelier is golden mirror glass

Lastly, CFL's  and other fluorescent bulbs should not go into the landfills, thus the garbage can. They contain heavy metals like mercury which will leach into the water supply. I am glad to live in a city that offers "Hazardous Waste Day" on Earth Day weekend. I can recycle everything from used fluorescent bulbs to old paint, and out of date prescriptions. I keep a box going the garage with "special recycling". If your city does not offer this service, write your city council person. In the mean time many stores that carry the bulbs offer recycling. Encourage them by purchasing your bulbs there and recycling them there as well.

Friday, January 10, 2014

New Digs- Hanna Antiques move in a little more each day

I am continuing to work of filling my space at Hanna Antiques (2424 7th ave S, Birmingham). Here's a progress report!


Ummm, yes, that is a lamp without shades... working on it!

Wednesday, January 8, 2014

Well-made Wednesday- the custom skirted table

This year I am posting a series called Well-made Wednesday. Each week will feature an item that is well crafted and show you what are the hallmark of the well crafted item. It will provided some designer insight for what we are looking for in a piece to use when you to antiquing or when looking at a handcrafted item.

This week's well made is a lovely custom skirted table-which is skewing a stronger green in the image than in real life. This well made table features a removable skirt, inverted pleats with button detail and small bouillon fringe. The top is a miter, which is lovely for a striped table and allows the stripes to appear aligned at the edge. The table top is protected with glass and the table is custom made with the addition of the leg stabilizer creating a shelf.

There are a few key points on this table that are above and beyond well made and some that are a great standard to look for when you are having custom work done.

The "above and beyond" points are:
silk fabric
mitered table top
covered buttons
good fringe
Velcro skirt

The standards to look for are:
custom table
table under-lined in double napped flannel
lined skirt "hidden" seam

Perfectly aligned stripes on the mitered top fabric!

The skirt Velcros to the top of the table allowing for easy spot cleaning or the ability to remove the skirt before moving the table to prevent damage. It also allows for easy ironing or steaming of the skirt fabric. The Velcro's soft side in on the skirt and the prickly side on the table preventing the Velcro from folding against the face fabric and damaging it. The seam and closure of the skirt can be hidden in the inverted pleats. Note that the skirt is lined and the Velcro is sewn to the lining fabric.

This is the button closure of the skirt the wrap tie is there for gentle security of the seam.

This detail of the underside of the table edge shows the Velcro is stapled in place over the face fabric and almost hidden from view is the unbleached, double napped (fuzzy on both sides) flannel that is between the wood table and the face fabric. This would protect the face fabric for any strange resins or tannins for migrating to the face fabric and damaging the table's look.

The top of the table connects to the legs with a box called an apron. Note that the apron on this table is a miter joint edge which prevents any fabric snagging from the end of the wood like a butt joint could create.

Another nice feature of this custom made table is the lap-type joint legs and the cross blocking the corners of the table. This table is also screwed and glued as opposed to nailed together.

It's great to find a pretty piece, or have one created, that is not only pretty on the outside, but underneath as well. If you would like to see this table in person and you are in the Birmingham, AL area, stop by Hanna Antiques at 2424 7th ave. S! What well made pieces have you found?